This topic describes how to use the Player API to change sponsorship logos and banners on your web page based on the currently playing video.
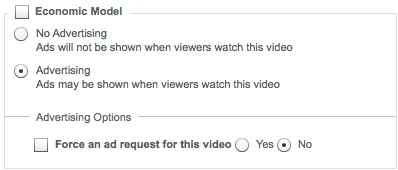
Even if you don't include ads with your videos, you may want to run promotions or show sponsor messages.
This solution, requires the following:
- Access to the Brightcove Player API
Getting started with the basic code
Before you copy your player code from Video Cloud Studio, make sure you have enabled the player for ActionScript/JavaScript APIs in the Web Settings section.
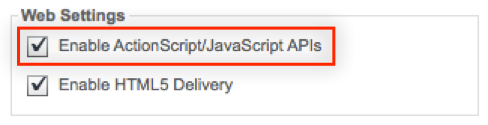
Note: Your custom code for the Player APIs will fail silently if this player setting is not enabled.
You will start with the basic Player code embedded in an HTML document. The Player code can be copied from Video Cloud Studio. Here is an example of the Player code:
<!DOCTYPE html>
<html>
<head>
<meta charset="UTF-8">
<title>Banner Ad</title>
</head>
<body>
<!-- Start of Brightcove Player -->
<div style="display:none">
</div>
<!--
   By use of this code snippet, I agree to the Brightcove Publisher T and C
   found at https://accounts.brightcove.com/en/terms-and-conditions/.
   -->
<script language="JavaScript" type="text/javascript" src="http://admin.brightcove.com/js/BrightcoveExperiences.js"></script>

<object id="myExperience" class="BrightcoveExperience">
<param name="bgcolor" value="#FFFFFF" />
<param name="width" value="798" />
<param name="height" value="500" />
<param name="playerID" value="2534998063001" />
<param name="playerKey" value="AQ~~,AAABmA9XpXk~,-Kp7jNgisrcwtI9lRuX4UZaA6B6424B5" />
<param name="isVid" value="true" />
<param name="isUI" value="true" />
<param name="dynamicStreaming" value="true" />

</object>
<!--
   This script tag will cause the Brightcove Players defined above it to be created as soon
   as the line is read by the browser. If you wish to have the player instantiated only after
   the rest of the HTML is processed and the page load is complete, remove the line.
   -->
<script type="text/javascript">brightcove.createExperiences();</script>
<!-- End of Brightcove Player -->
</body>
</html>
To learn more about generating the Brightcove player code, refer to the Publishing a Video Cloud Player document.
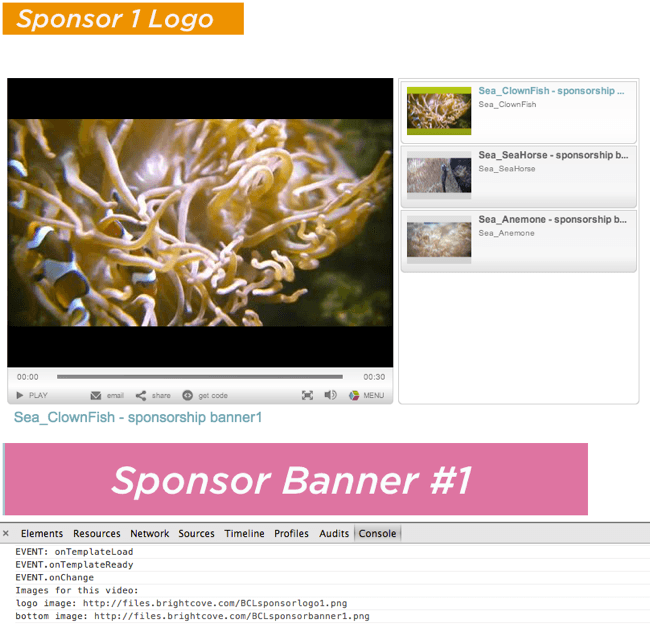
Changing a sponsorship logo and banner based on video
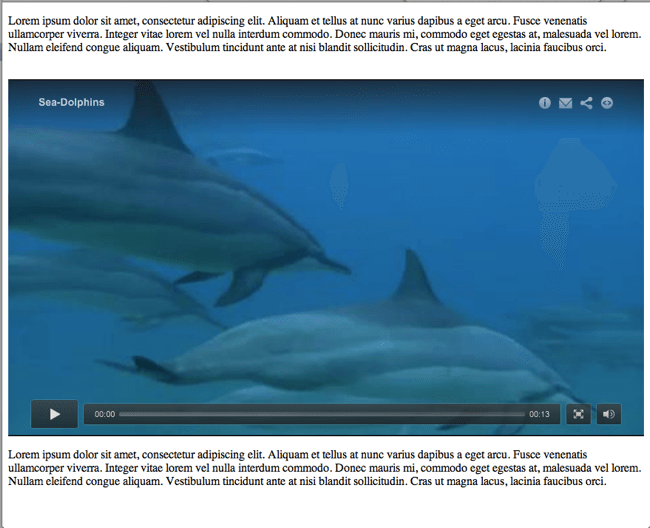
With a little help from the Video Cloud Player API, you can change the logo and banner images in your web page. To do this, you will need to store the paths to your images in the video metadata. If you have a Professional or Enterprise account, you could create custom fields to hold this data. With an Express account, you can save the data in one of the standard fields, like the Long Description.
Changing the logo and banner for each video consists of the following:
- Store the banner image path in the video metadata
- Use the Player API to get the image paths for the current video and replace the logo and banner source
- Verify the sample code
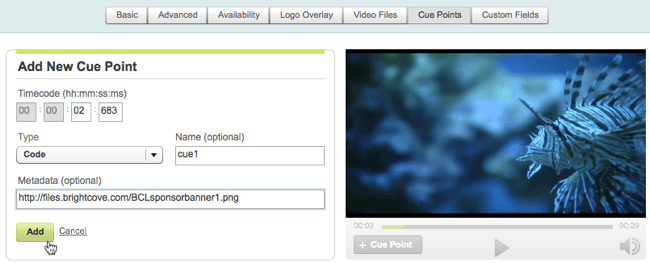
Storing image paths in the video metadata
Return to Video Cloud Studio, navigate to the Media module and edit your video. In this example, we have stored the image paths in the Long Description field.
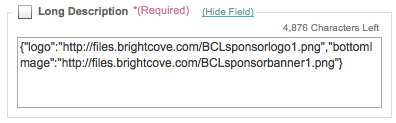
Note: This solution stores a JSON string in the Long Description field which represents an object with two properties: the URL for a logo image and the URL for a banner image.
Using the Player API to get image paths for the current video and replace the image source
In your HTML document, add JavaScript code to access the Player API to do the following:
- Include the Player API event listeners
- Add logo image and bottom banner image HTML tags
- Create an
onTemplateLoad()function that defines the player and theAPIModulesobject - Create an
onTemplateReady()function that defines the video player and adds an event listener for video change - Create an
onChange()function that gets the image path URLs for the current video and sets the logo and banner HTML images
Note: To view the console messages in this solution, turn on the console using the browser's developer tools.
<!DOCTYPE html>
<html>
<head>
<meta charset="UTF-8">
<title>Banner Ad</title>
</head>
<body> <!-- top logo image -->
<img id="logoImage"/>
<br/>
<!-- Start of Brightcove Player -->
     ...
<object id="myExperience" class="BrightcoveExperience">
      ...
<!-- smart player api params -->
<param name="includeAPI" value="true" />
<param name="templateLoadHandler" value="onTemplateLoad" />
<param name="templateReadyHandler" value="onTemplateReady" />

</object>
     ...
<!-- End of Brightcove Player -->
<br/>
<!-- bottom banner image -->
<img id="bottomImage"/> <!-- custom script -->
<script type="text/JavaScript">
     var player,
         APIModules,
         videoPlayer,
         logoImage,
	 bottomImage,
	 images;
     var onTemplateLoad = function(experienceID){
         console.log("EVENT: onTemplateLoad");
         player = brightcove.api.getExperience(experienceID);
         APIModules = brightcove.api.modules.APIModules;
     };

     var onTemplateReady = function(evt) {
         console.log("EVENT.onTemplateReady");
         videoPlayer = player.getModule(APIModules.VIDEO_PLAYER);
         videoPlayer.addEventListener(brightcove.api.events.MediaEvent.CHANGE, onChange);
         /* since there's no media change event for the loading of the
 	    initial video, fire the media change handler manually */
	    onChange(null);
     }

     var onChange = function(evt) {
         console.log("EVENT.onChange");
         /*
  	    get the long description for the current video and
  	    parse it to create an object with two properties:
	    logo : URL for a logo image
	    bottomImage: URL for a banner image
	*/
         videoPlayer.getCurrentVideo( function(videoDTO) {
  	     images = JSON.parse(videoDTO.longDescription);
  	     console.log("Images for this video:");
             console.log("logo image: " + images.logo);
  	     console.log("bottom image: " + images.bottomImage);
                       /*
  	     Set the source of the two images in the player to
  	     images stored for the video in the long description field.
  	*/
	     document.getElementById("logoImage").src = images.logo;
             document.getElementById("bottomImage").src = images.bottomImage;
        });
      }
</script>
</body>
</html>
Click here to view the complete sample page.
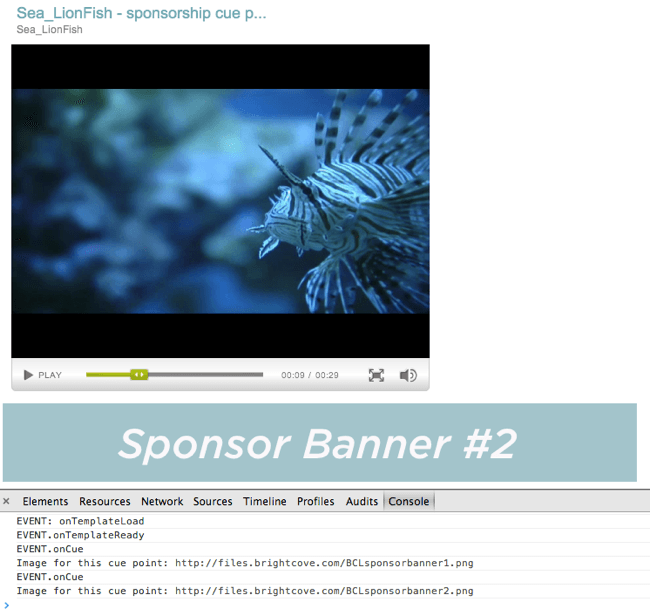
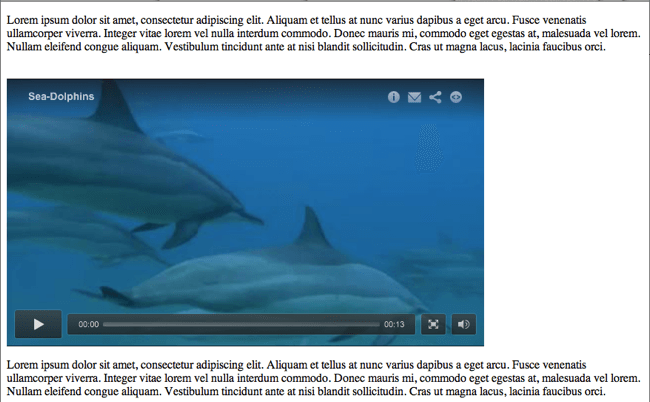
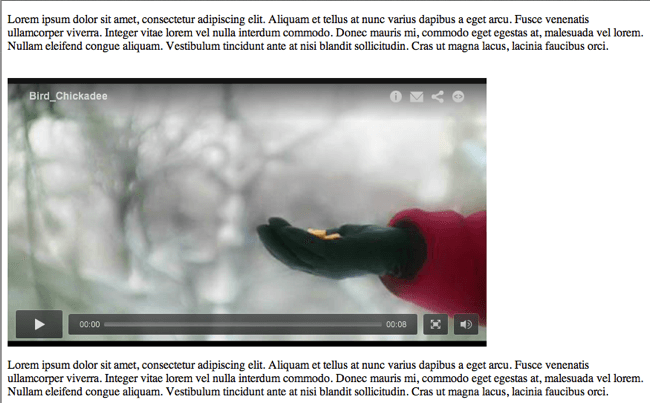
Running the sample code
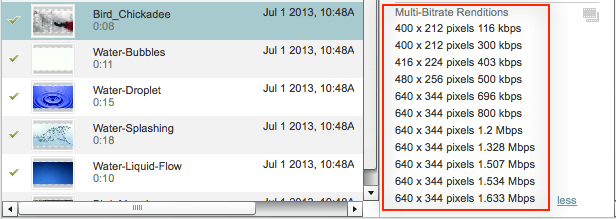
Run the sample code in the browser. Select from the videos in the playlist to see the logo and banner ad change.